Stock Photography in 2026 — Growing Portfolio, Declining Sales
Once I thought that if I was already taking photos for fun, and the fact that many of them were generic images simply sitting on my hard drive without any real use, maybe I could at least make some passive income out of them. So my experience with stock photography started back in 2021.
At first it was mostly an experiment. Uploading random photos, learning how stock websites work, understanding keywords, descriptions, editorial licensing, and trying to figure out what people actually buy.
Over time, it slowly became much more serious.
I kept improving my photography, expanding my portfolio, adding videos, traveling more, editing more carefully, and investing much more time into the whole process. What started with a small test portfolio eventually grew into thousands of uploads across Shutterstock and Adobe Stock.
But honestly, 2026 has been one of the most disappointing years so far.
The strange thing is that while my portfolio keeps growing, the actual income continues to decline.
As of 12/05/2026, my Shutterstock portfolio contains around 1500 photos and videos. About a year ago I expanded the portfolio significantly and added roughly 500 additional works, expecting that larger numbers and improved quality would slowly increase visibility and sales over time.
Instead, the opposite happened.
Shutterstock statistics for 2026 so far:
January — 35 downloads — $4.99
February — 38 downloads — $9.31
March — 43 downloads — $4.67
April — 28 downloads — $6.68
May (until 12/05/2026) — only 4 downloads — $0.40
Previous years:
2025 — 475 downloads — $155
2024 — 612 downloads — $230
2023 — 223 downloads — $85
What makes this even harder to understand is that back in 2024 my portfolio had only around 800 photos, yet it generated significantly more revenue than today with almost double the amount of content.
So despite uploading more, improving quality, expanding categories, and spending more time on photography and video production, the actual return keeps shrinking.
And the payout per download became extremely low.
Sometimes photos that took hours of work, traveling, editing, rendering, or waiting for the right conditions end up selling for only a few cents.
At this point it honestly feels less like passive income and more like fighting algorithms that continuously reduce visibility for smaller creators.
Adobe Stock tells a slightly better story, but the slowdown is noticeable there as well.
Adobe Stock statistics:
2026 — 106 downloads — around $90
2025 — 189 downloads — $168
2024 — 130 downloads — $151
2023 — 141 downloads — $120
One interesting thing I noticed is that only around 1/15 of my portfolio actually consists of videos. The overwhelming majority is photography.
And yet, videos often generate disproportionately better revenue compared to photos.
That alone says a lot about where the stock market seems to be heading in 2026.
The entire industry feels very different today compared to only a few years ago:
More competition
Lower payouts
AI-generated images flooding the market
Reduced visibility for individual artists
And a growing feeling that quantity matters more than quality
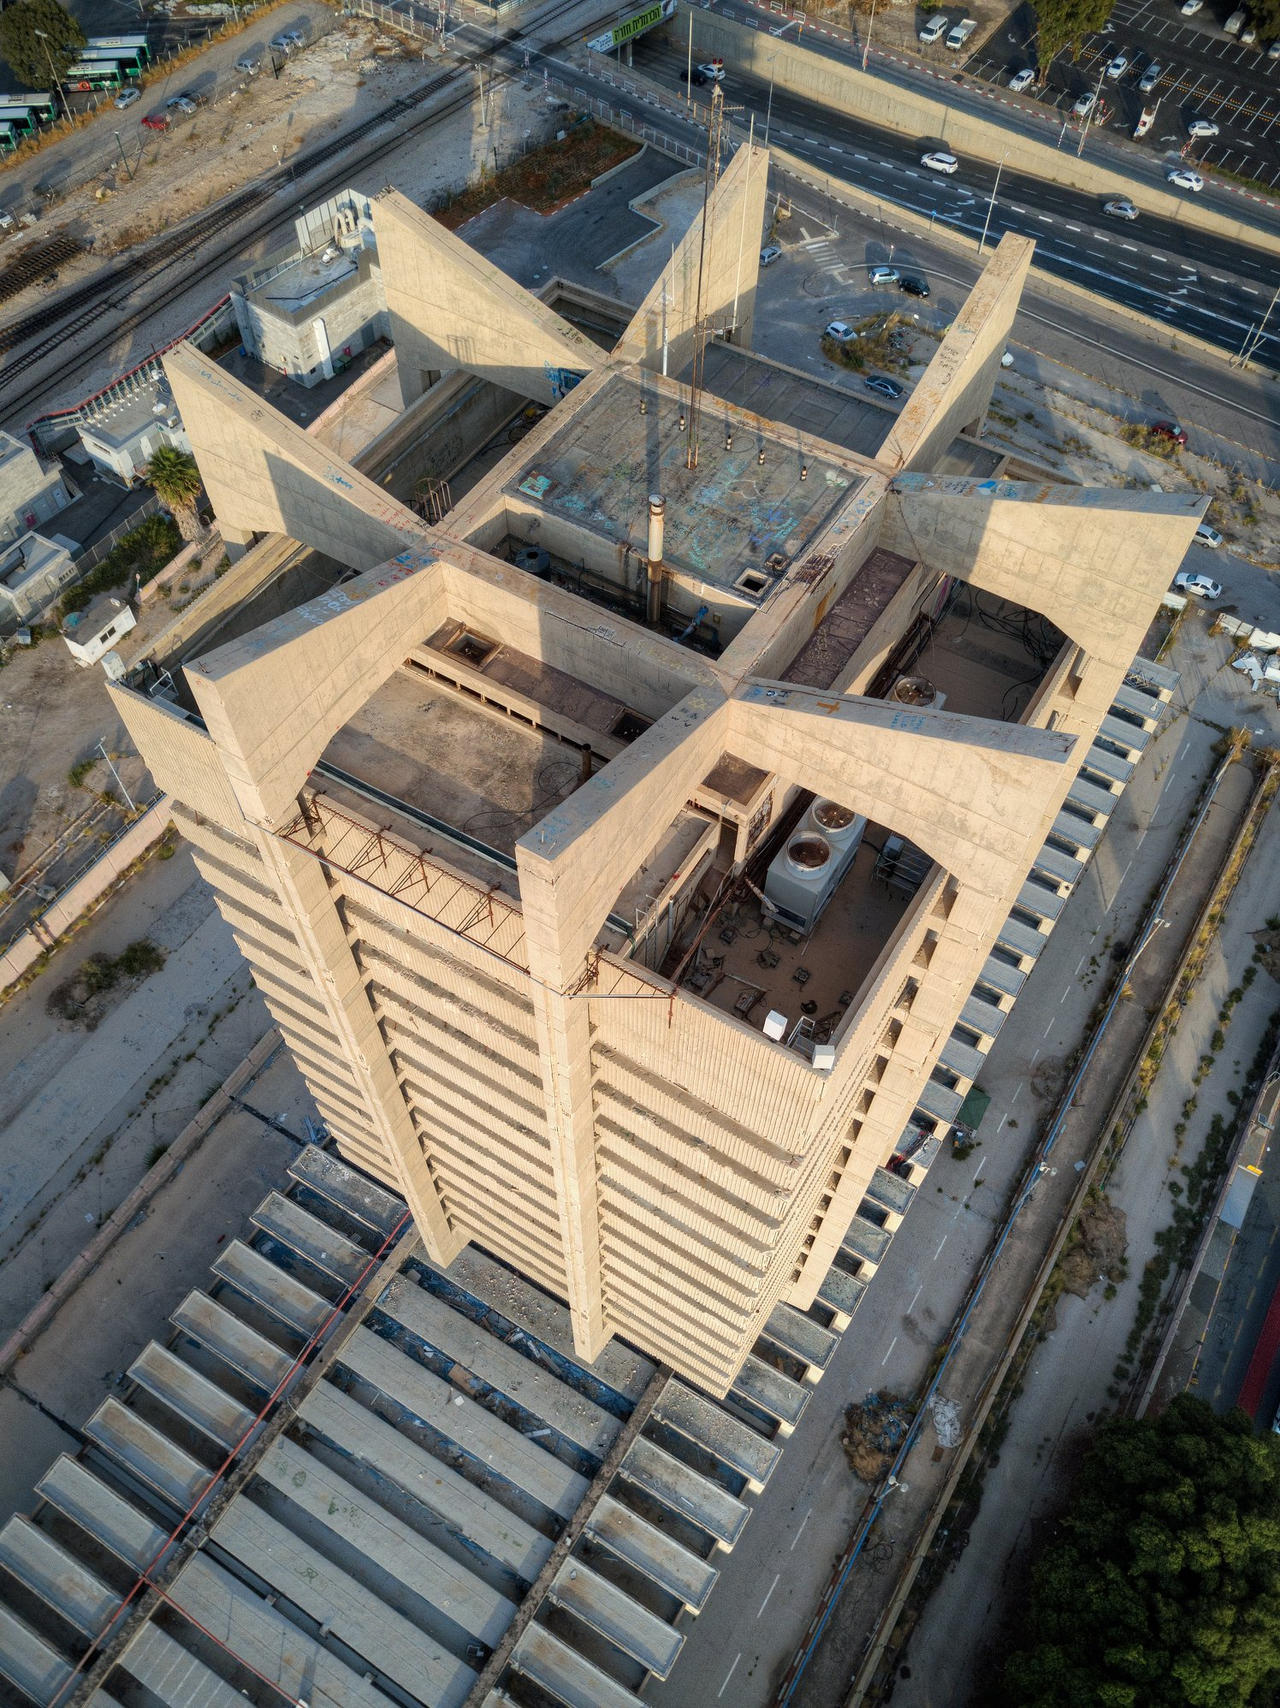
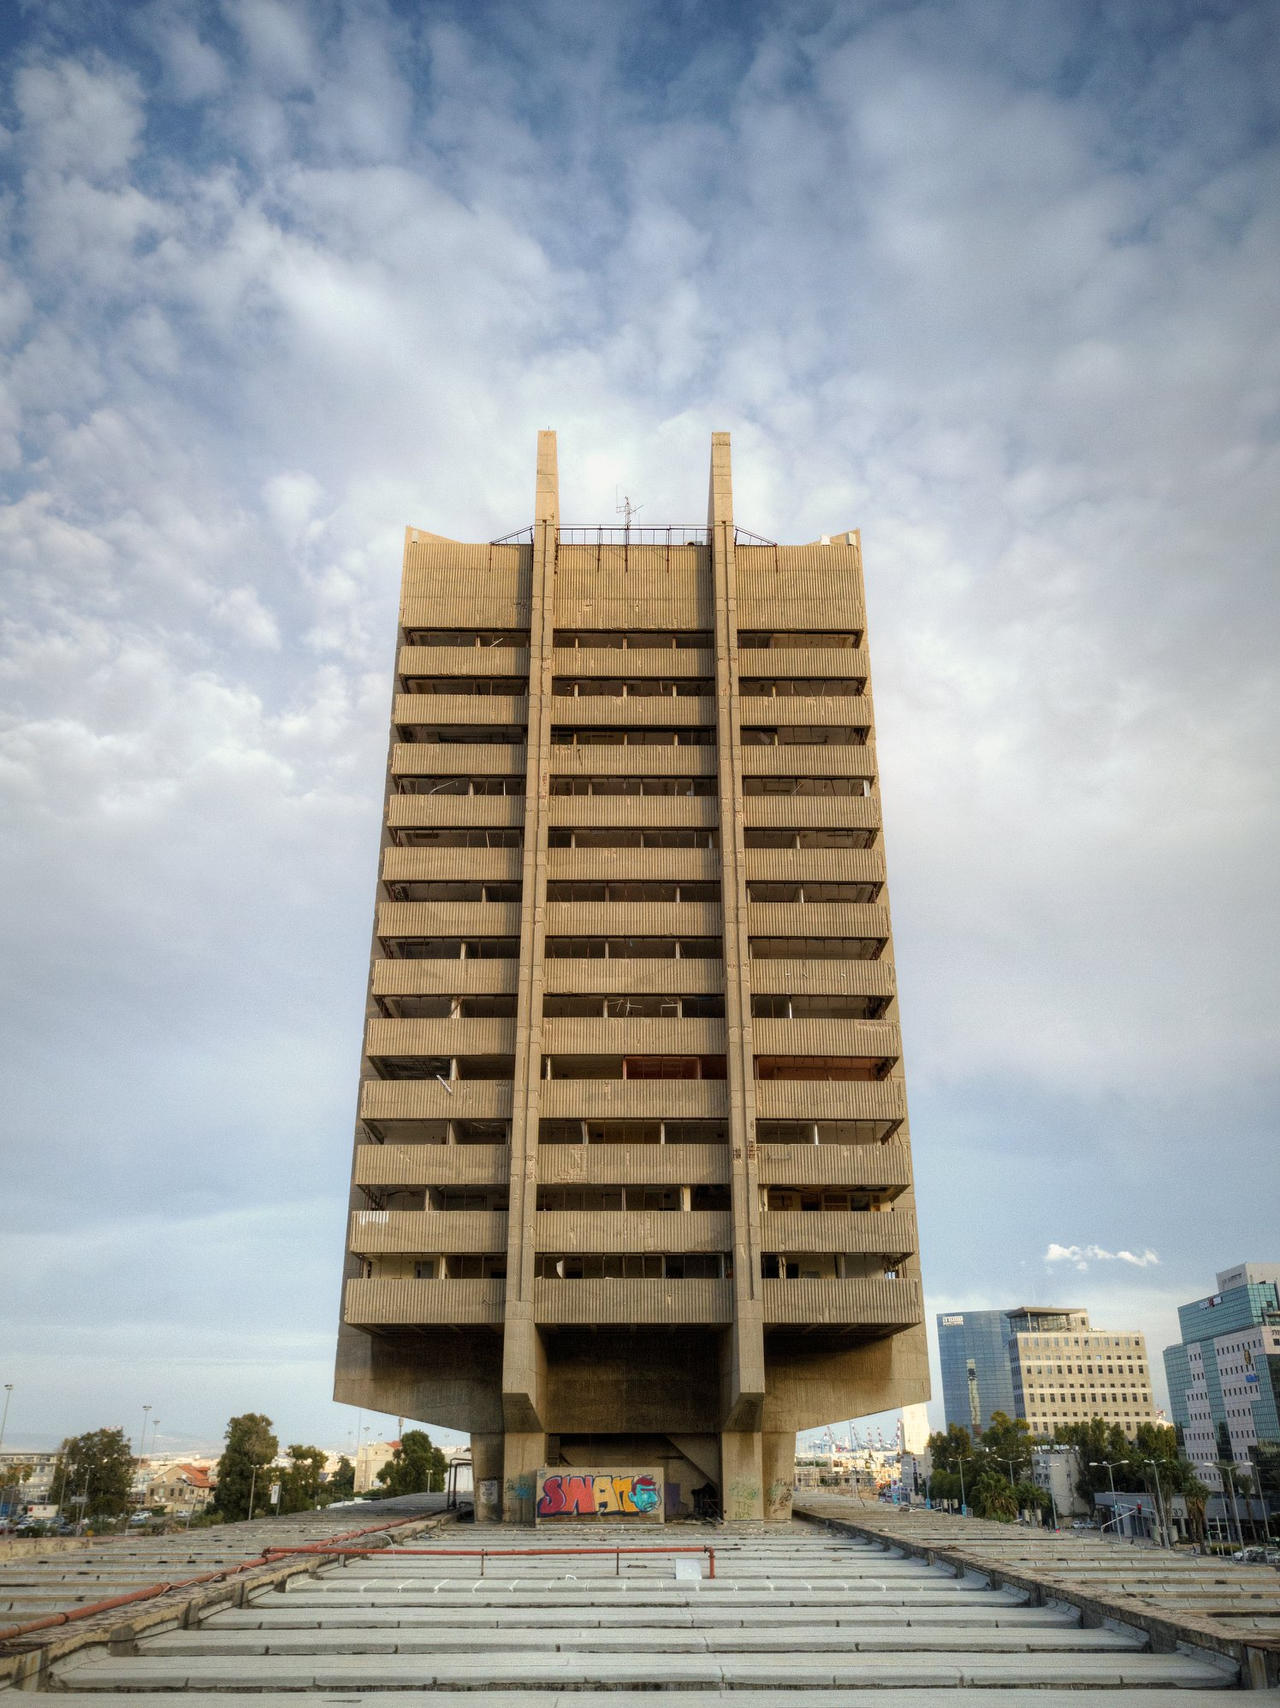
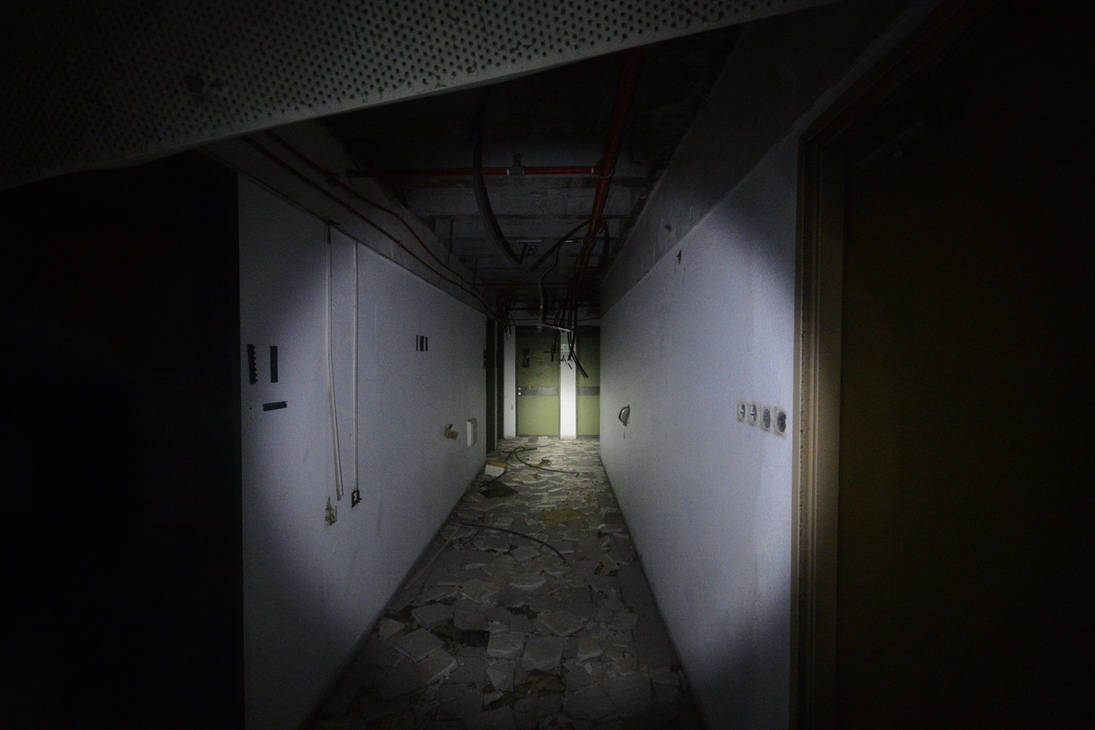
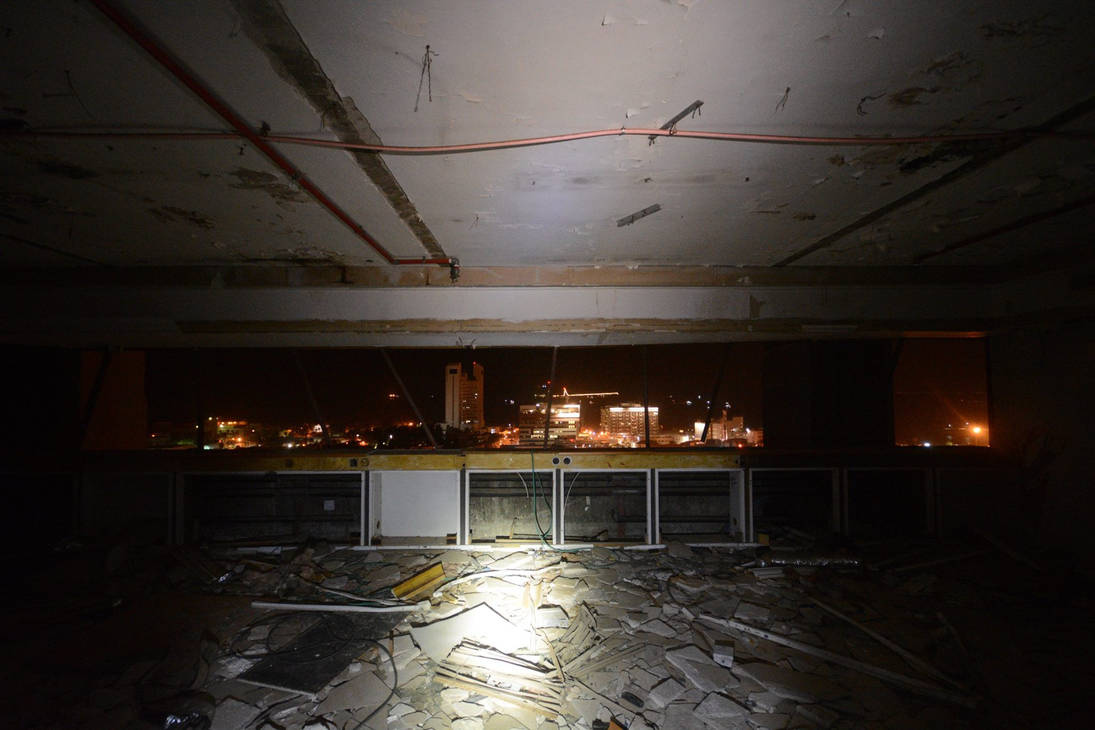
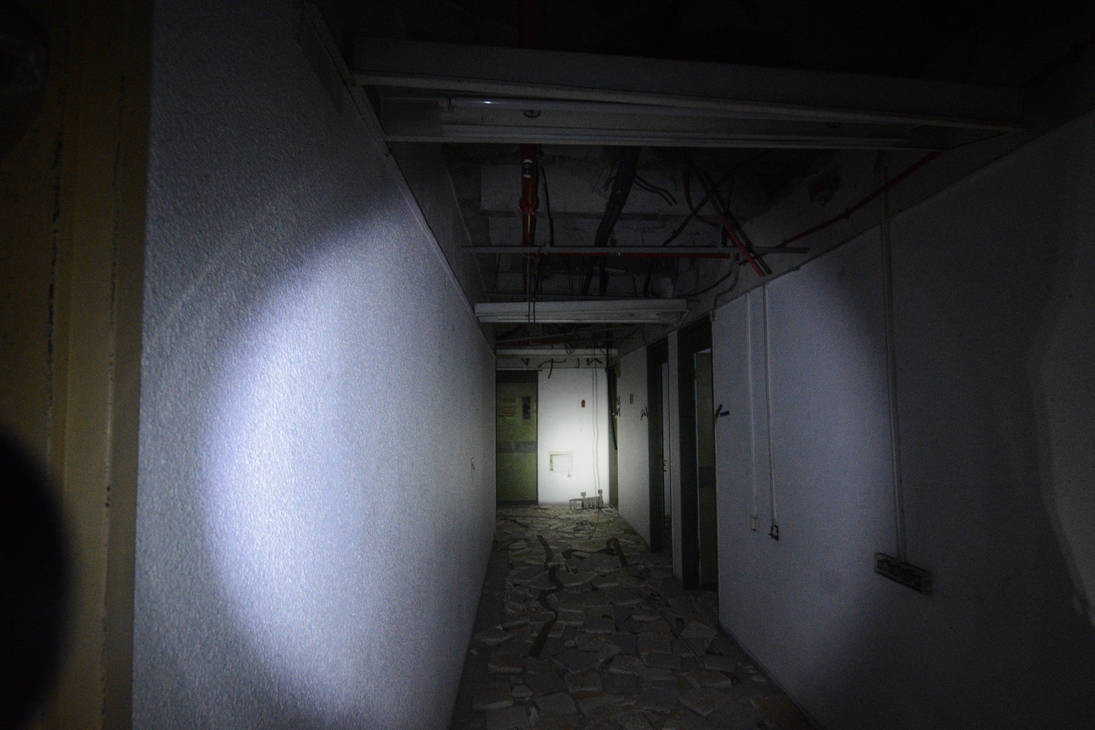
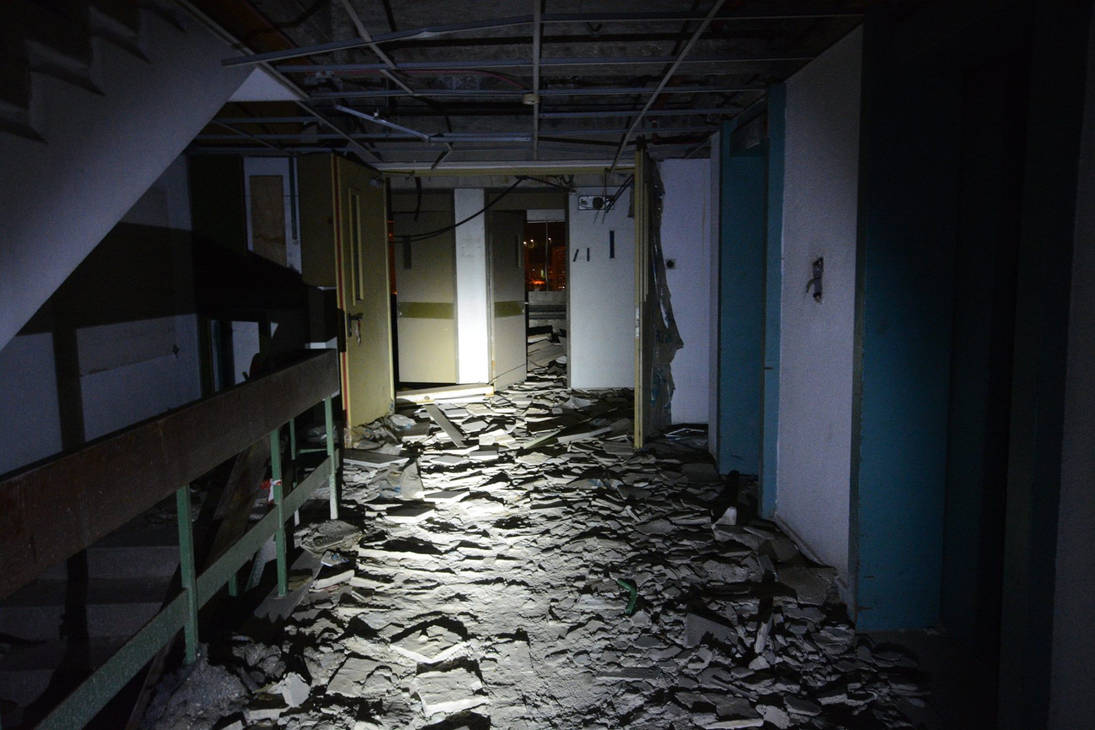
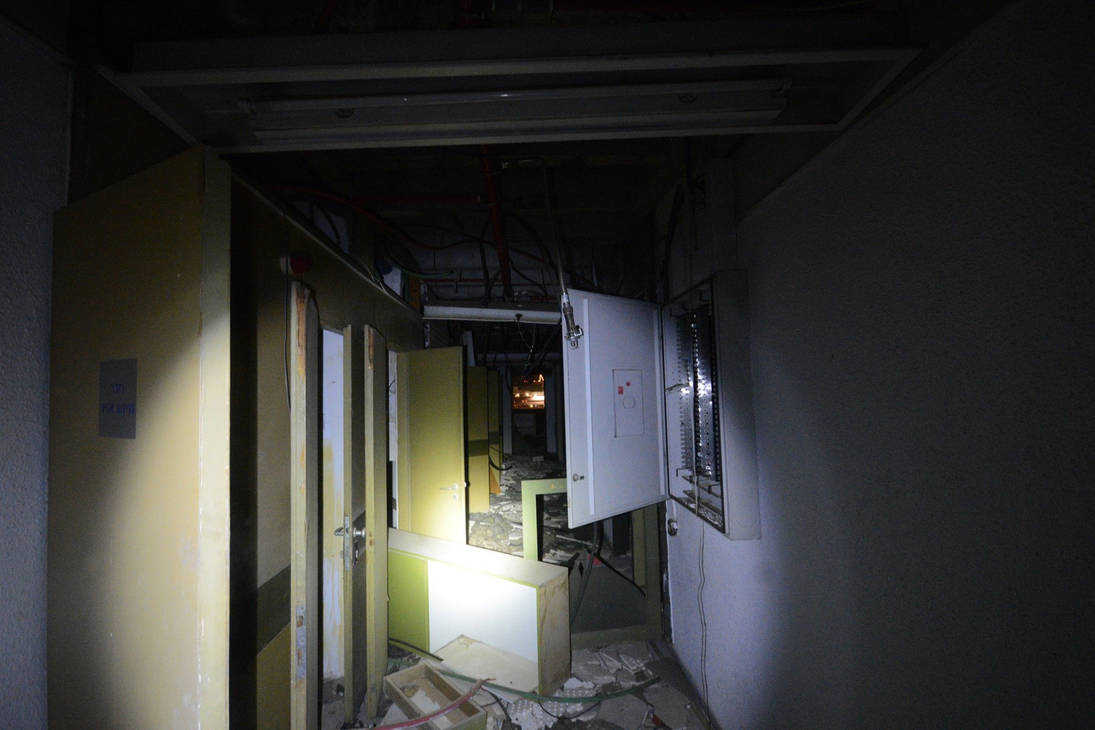
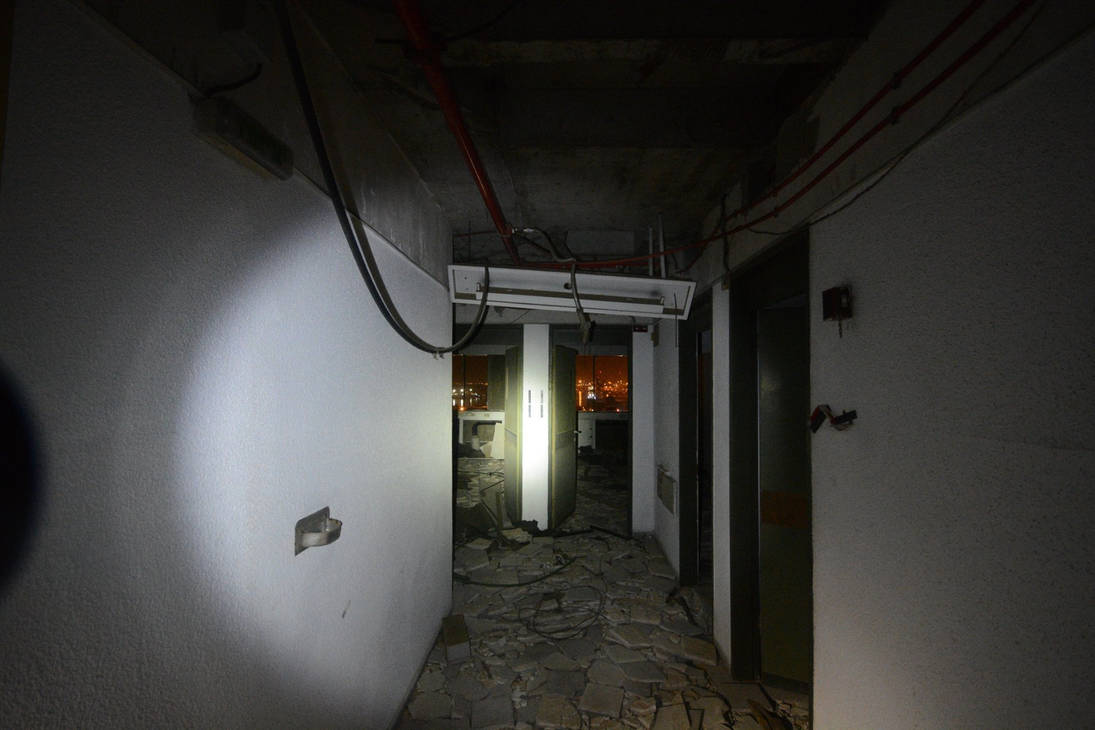
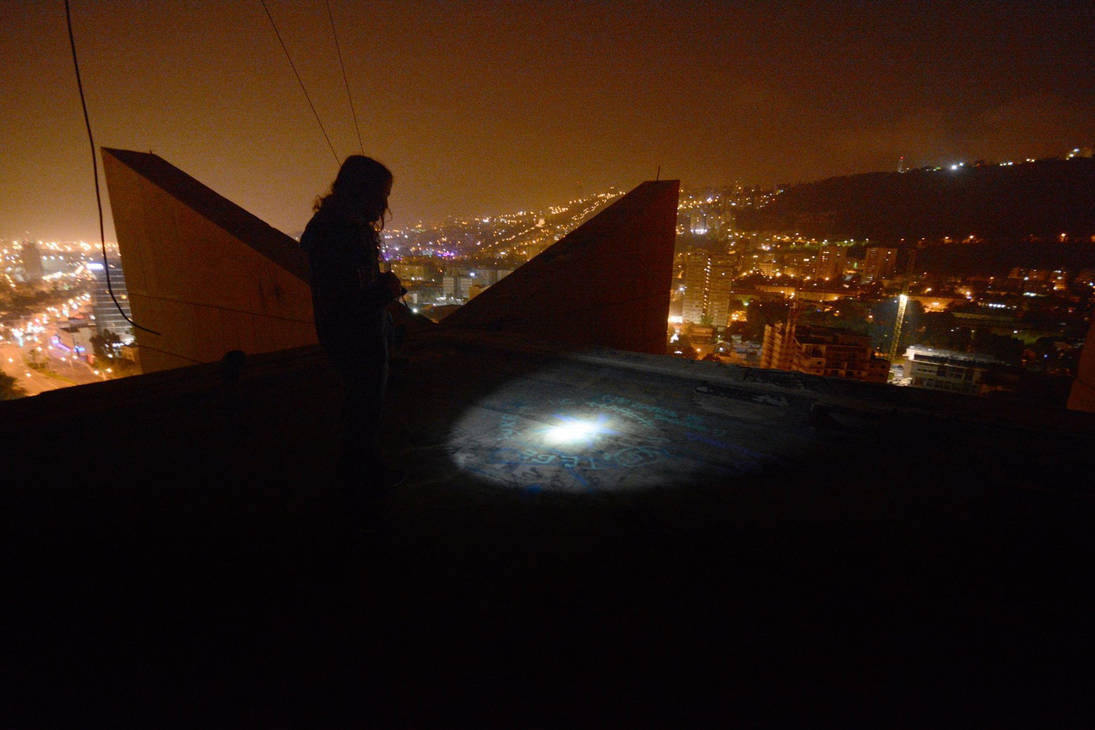
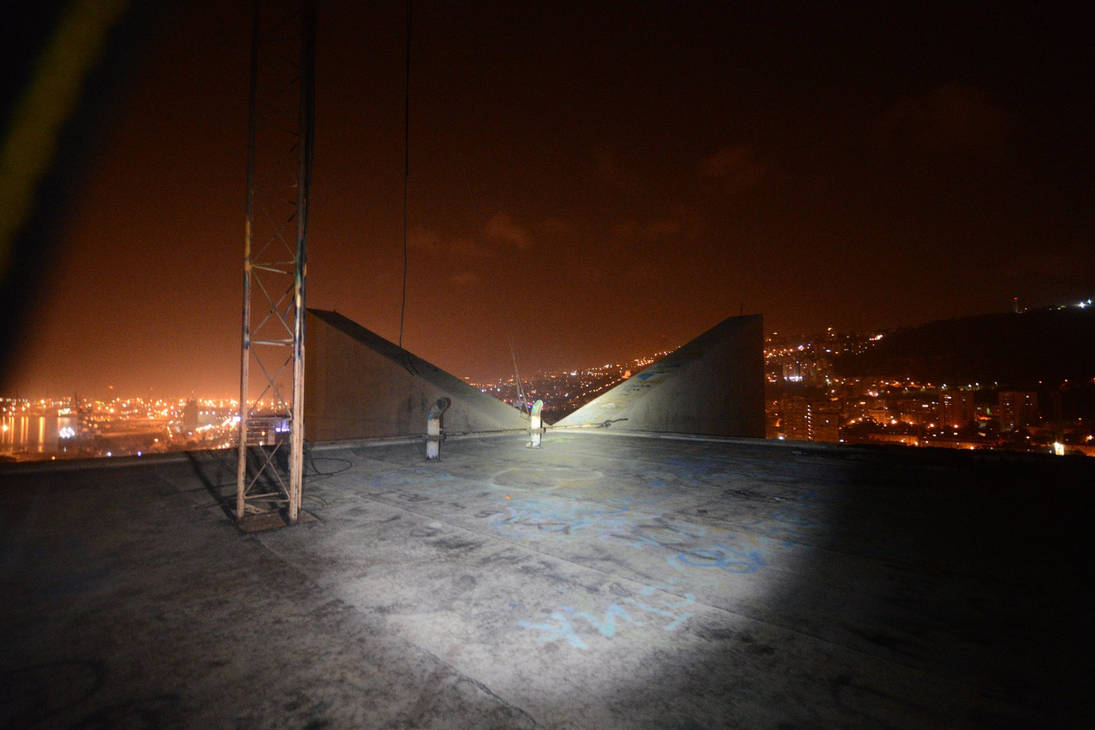
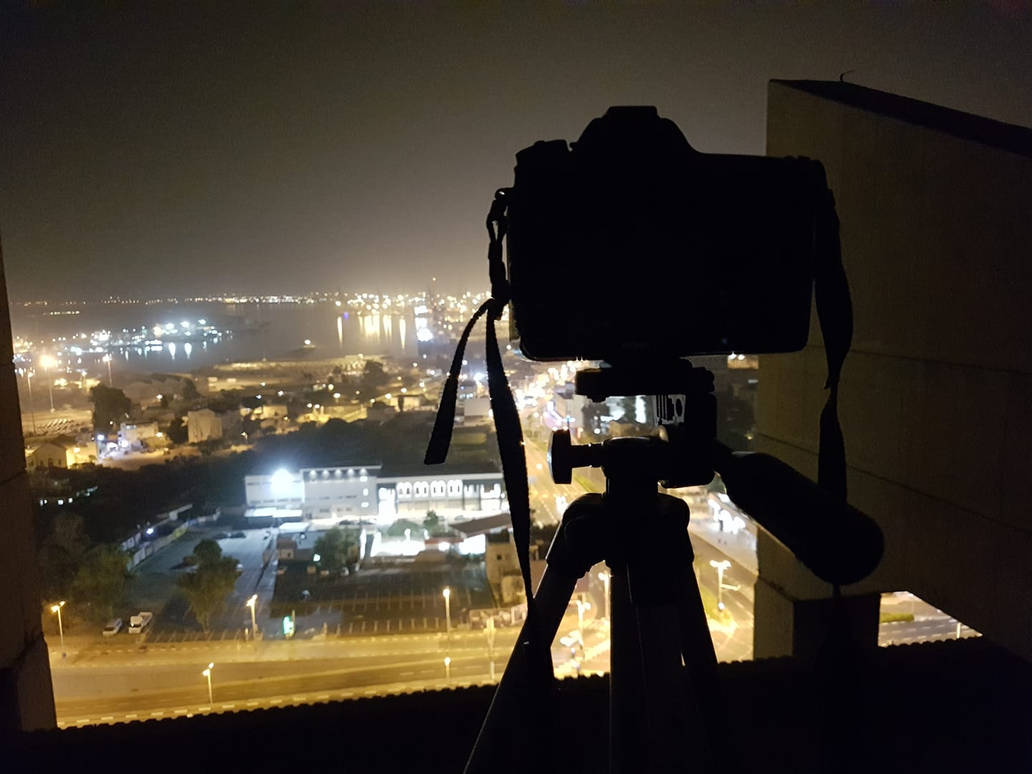
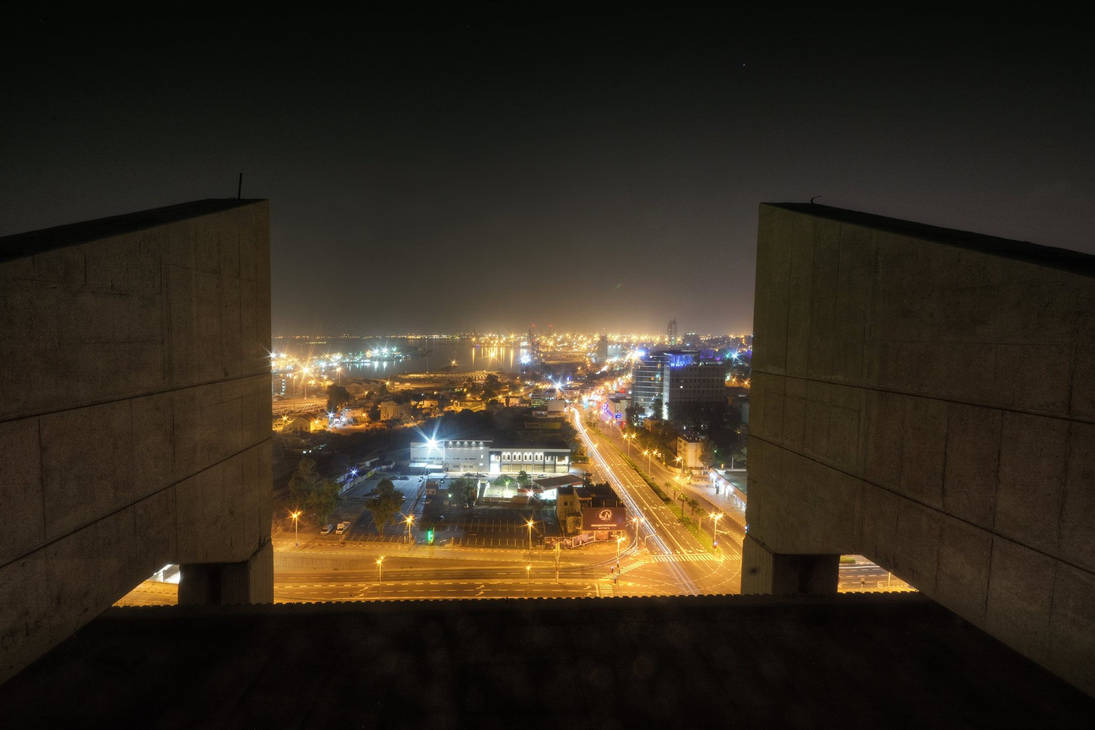
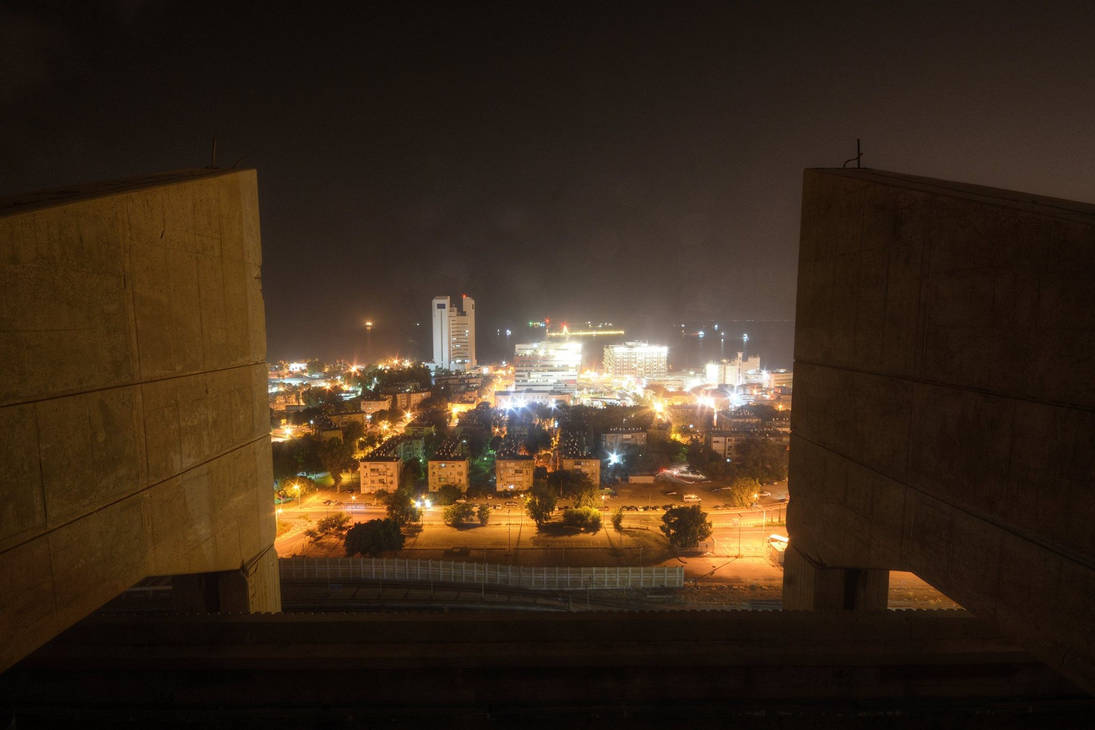
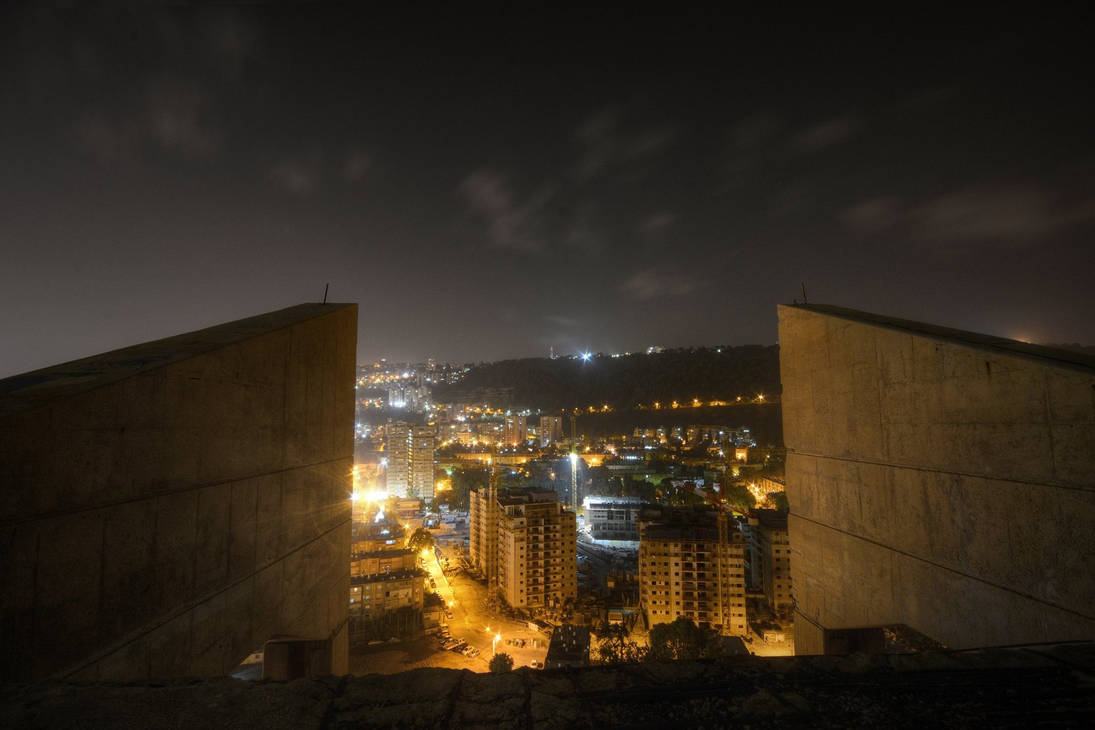
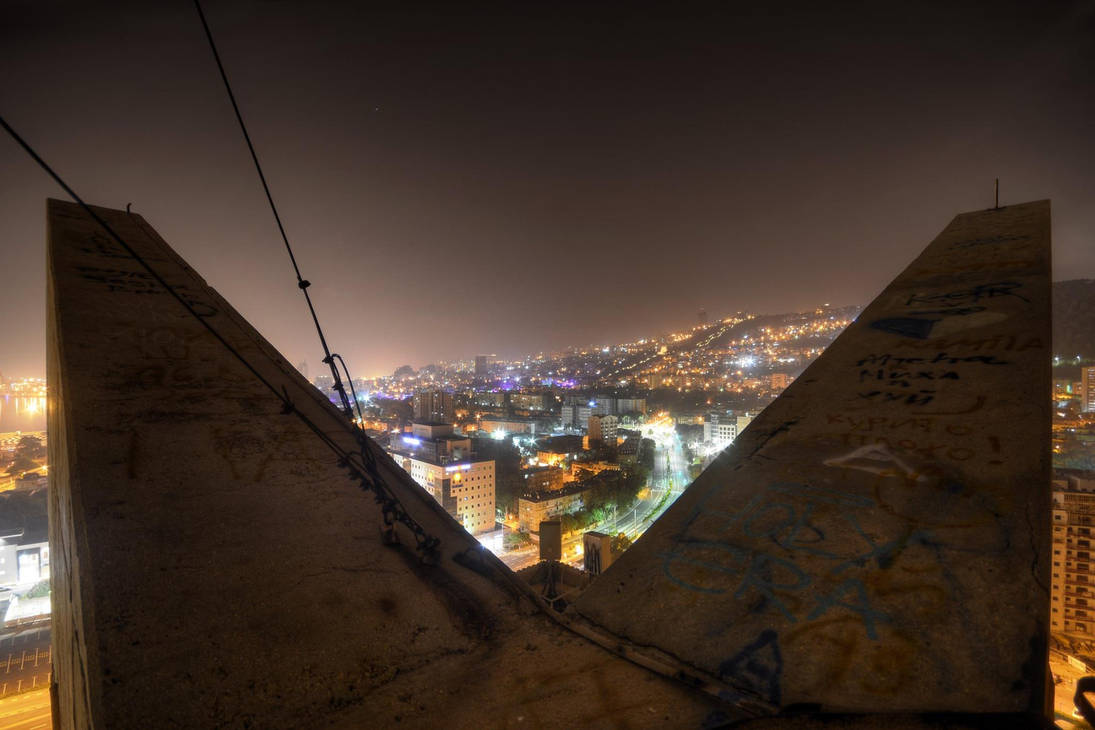
I still genuinely enjoy photography itself. Landscape photography, infrared photography, long exposures, astrophotography, documenting places, abandoned objects, urban environments — that passion is still there and probably always will be.
But financially, stock photography in 2026 feels more unstable and less rewarding than ever before.
Maybe the market will eventually recover. Maybe video content will become the dominant format. Or maybe traditional stock photography is slowly fading into something completely different from what many contributors originally joined years ago.
I’m honestly curious how things are going for other contributors this year.
Are your sales also declining in 2026, or are you seeing a different trend?