Thursday, August 28, 2014

Think outside the box: Sparkles painting


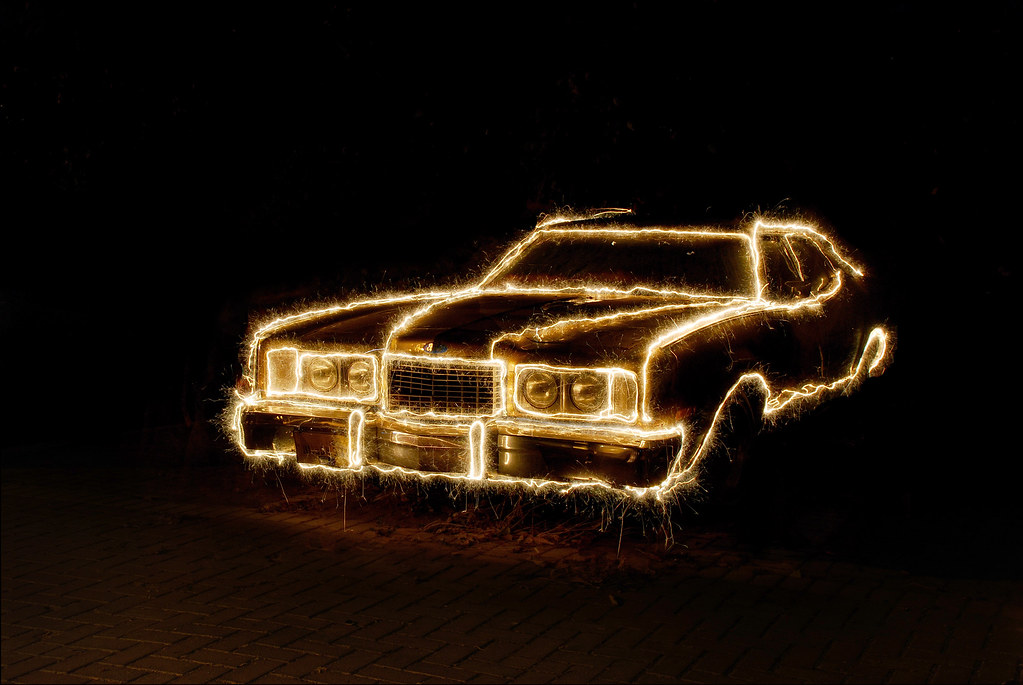
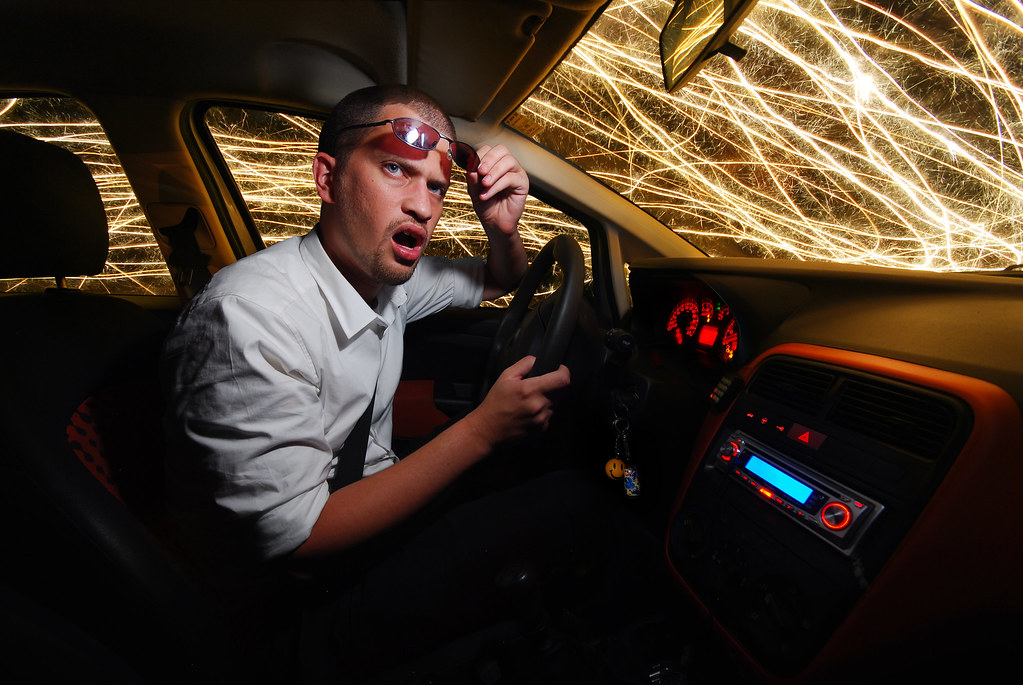
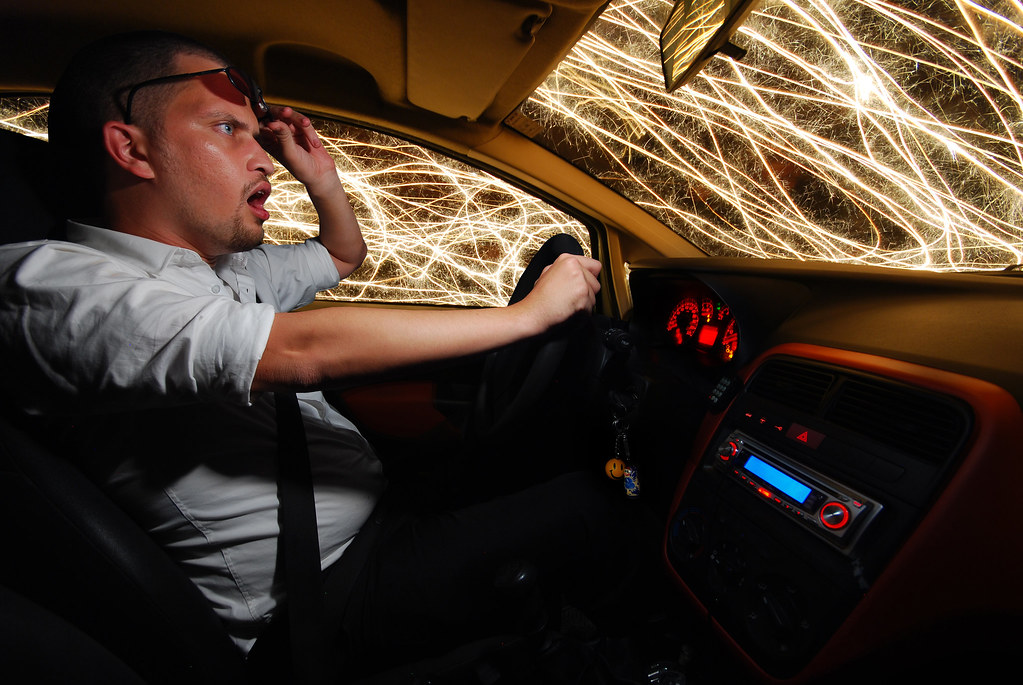
It was late night and for many days I had an idea about try a new type pf photo technique, sparkles drawing. so that day I bought a lot of sparkles and call a friend to come and help me with my idea. I took my car and we drove outside the city, we came to a very dark place with minimum light source in the surrounding.

we decided to draw my car.
firs attempt was to seat the right setting to the came.
I noticed that the aperture that most suitable for this kind of photo and distance is f/13.
I put my camera on remote so this way I can expose as long as I want.

and we try and try
one sparkler gave us half minute so every half minute we have to light a new sparkler. to avoid an unwanted sparkler line in the photo when we light a new sparkler we hide it with our body so it not shown on the photo.
It took us 8 tries and a lot of sparklers to make a good resulted photo ( the one you can sea here)


and after this attempt I make another one
on other object 


Wednesday, August 27, 2014

Think Outside the Box: Scanography

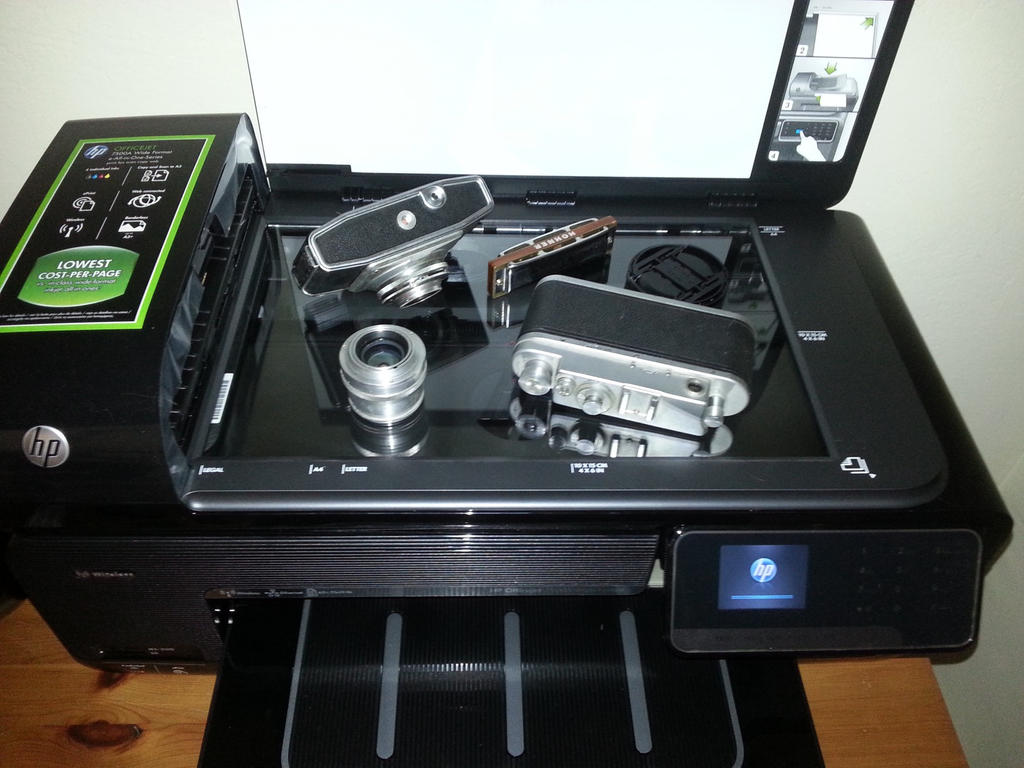
not so long ago I bought a new A3 printer with scanner for my studies so I be able to print plans on A3 without going out from my apartment.
today I set it and check it and It prints very well
the next step was to check the scanner, it more practical then scanning with camera, you don't have to edit it after you take the photo of the scanned object. the printer did a quite good hob at scanning on of my sketches.
and then I thought that principally it doing the same job as a camera that aimed straight to the object.
could it work as a camera? could it be an artistic tool.
soon I went on the internet and I found my answer very fast.

well, there is a technique that called Scanography
you can create creative photos with scanner, so I decided to try it myself
I found some objects and placed them on the scanner surface.

Wp 20140827 003 by FX-1988

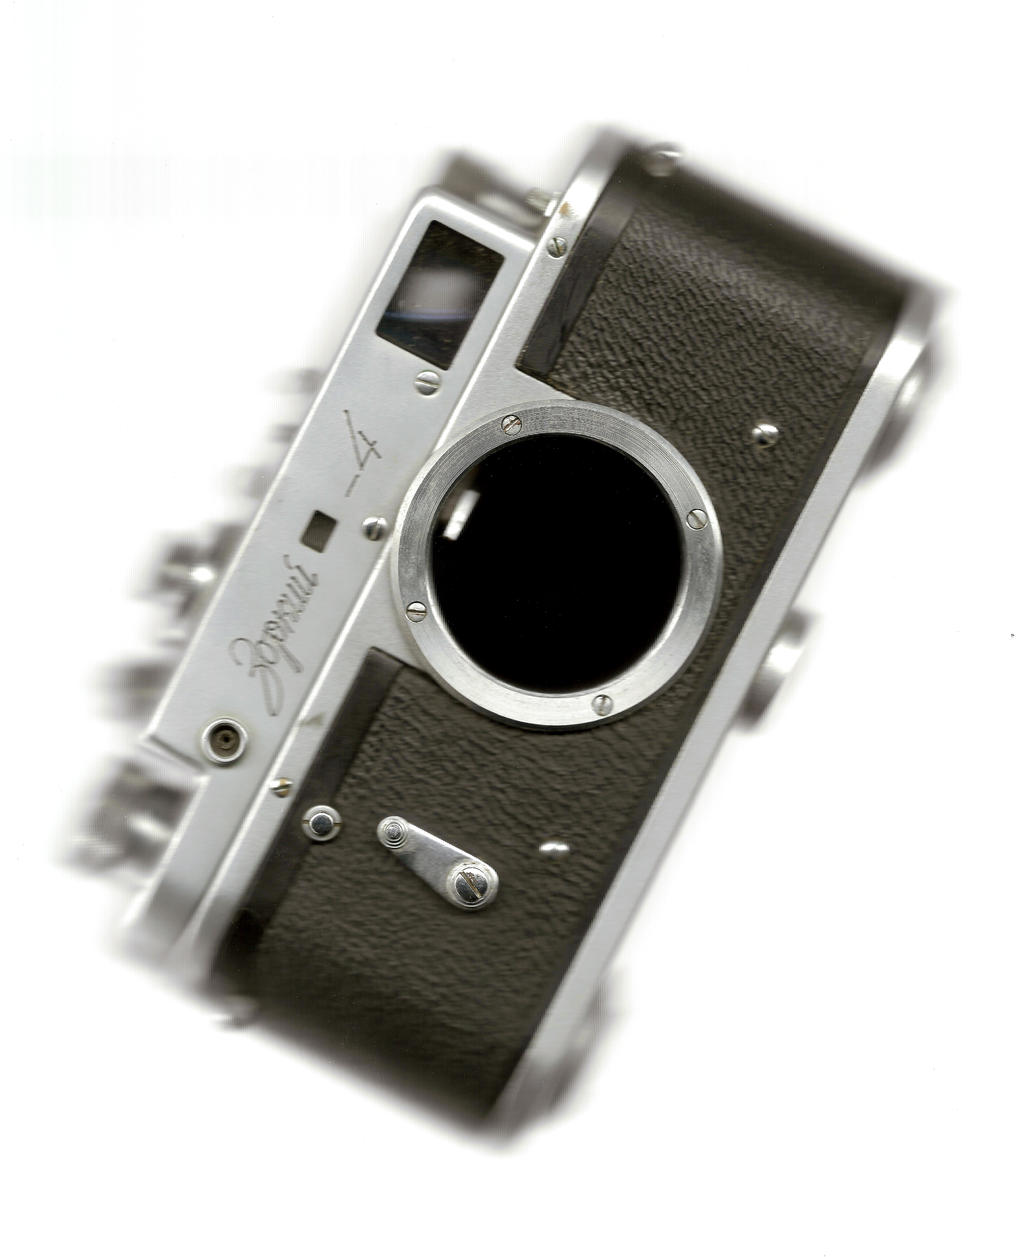
the first one was taken during the daytime
as you can see the background is burned
Scan 4 by FX-1988

on the internet I saw that most of the photos taken with this method had a black background
I guess that because my apartment was lighten by the day light Ive got the burned background.
also I noticed that the scanner creates it own light so I decided to wayt to the sun go down.
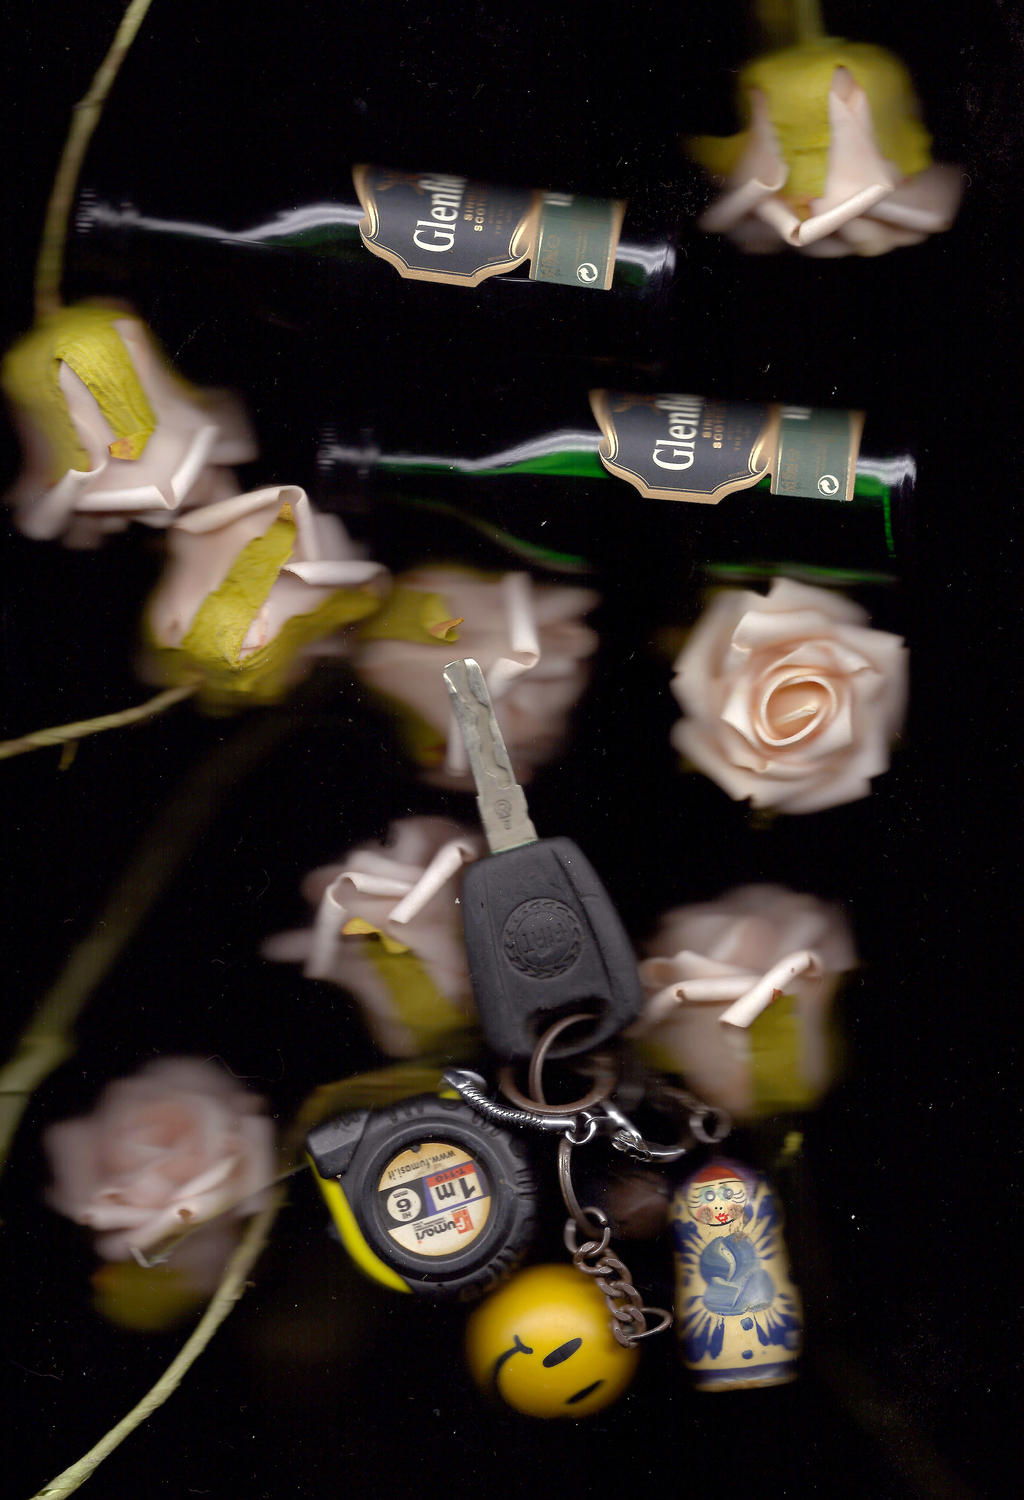
when the evening come down I tried again, I turn off all the lights in my apartment and make a try.

Scan 5 by FX-1988

and it work
so I make some more tries

Scan 6 by FX-1988

Scan 8 by FX-1988

it not perfect, there is some downfalls
like, the depth of filed of the scanner is very sallow, only the surface area is focused
also you have to clean the surface after each scan or change in the composition.

it not a camera, it very limited in abilities.
but it giving you another point of view on thing you can do. it give you the ability to create a flatted scene
like creating a painting or a composition of something creative.
try to imagine a scene and create it with objects you have near you.

I hope it was interesting and I hope it gave you another prospective on the things you can do and how to create art in new way.

It can be interesting if you try it too
If you do post a link here and tell others about this technique

Good times with flash and sparkles

this photo is a combination between tow photos
the first one is the sparkles painting
81.6 sec exposure without flash, this photo use as a background

the camera been placed on a tripod so I can take the second photo of the same scene this time with the main object
the second photo been taken with SB-700
placed under the camera and aimed on the object's face
the flash have been set on 1/4 and placed on 16mm DX mod on manual

the flash have been set on slave and triggered by the popup flash of the camera set on 1/128, I tried to get out the build in flash from the equation  by setting it on low power

the camera set on the same settings
all but the exposure time that been changed to 2 sec.
it give me the ability to start the shot and aim the flash that I hold in my hand

after that I combined the tow photos.
I make the combination because when I tried to take all in single shot it didn't come off.
the person moved and it have been noticeable,
he hide some of the sparkles and when I flash him it look like a ghost. 


Tutorial: Photoshoped GND

What is GND filter?
GND filter or graduated neutral-density filter is the same filter like ND filter
it work like sunglasses for your camera. it
reduces the light that came through it and gives you more exposure time.
it allow you to make long exposures during the day or making the city space look more dynamic by blurring the motion of the clouds.

there some kinds of ND
from weak that gives you 1-3 stops of exposure to strong blocking that gives you 10 stops

GND filter is a different from ND filter, only half of the filter is blocking the light
it uses for increase the dynamic range of the photo.
when you take landscape photo usually you get the landscape dark and the sky is OK
or the landscape is good but the sky is burn.
GND filter make it possible to keep the dynamic range in the rich of your sensor

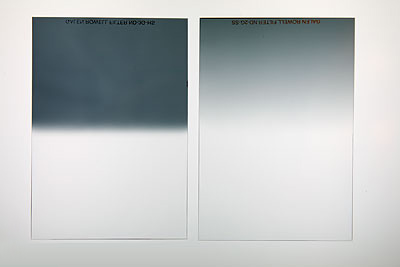
Filters by FX-1988
there are many different kinds of GND filters
they are different by there gradual and there strength

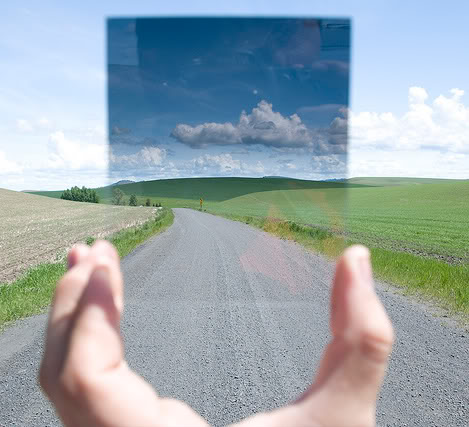
Omnp2zqv by FX-1988
the GND filter prevent you from burning the sky and gives you more dynamic range

If you ask why not to use HDR?
well if it posible I prefer making GND photo
it have the same idea of hdr, it increase the dynamic range but overall if you look at the processed HDR photo you noticed that it been processed. the GND make it possible to increase the dynamic range without processing.
it also look more realistic and natural then HDR processed by a program.

the disadvantage of GND is the fact that they are expensive
and need additional equipment to attach to the camera.

so here is what I'm doing to get the same effect without buying the filter
all you need is a tripod and editing program like photoshop.
I simply doing the same thing that GND filter does in photoshop.

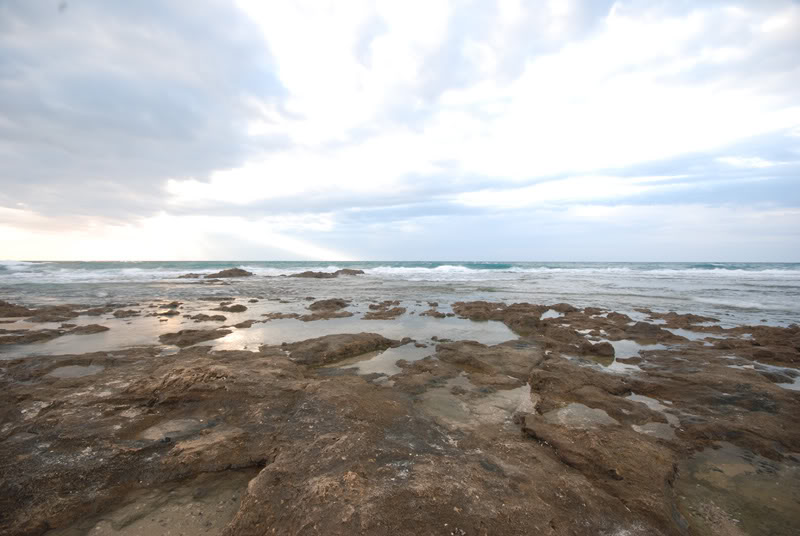
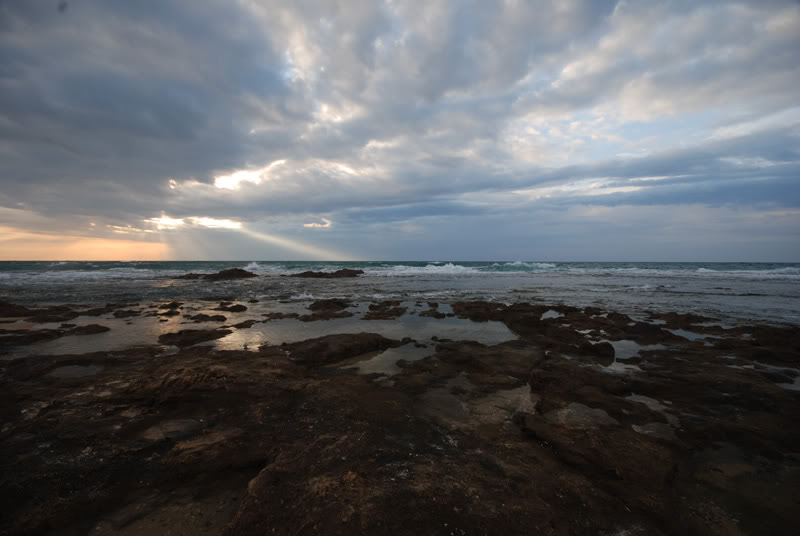
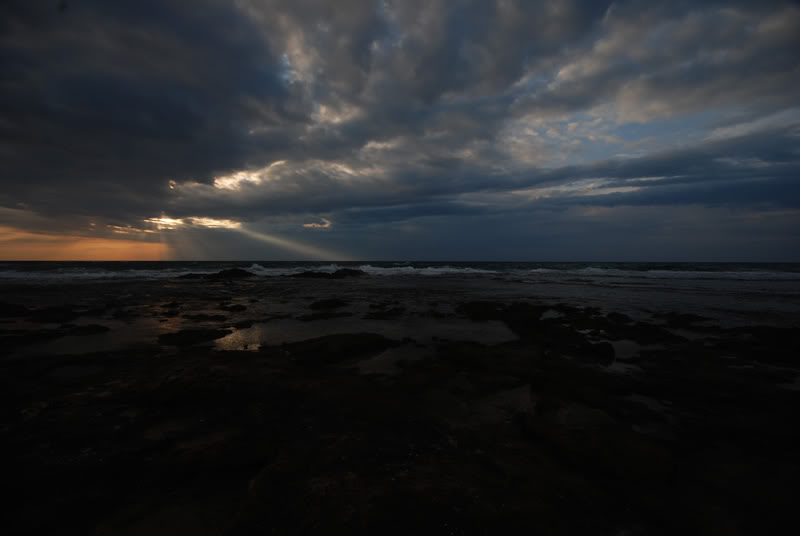
here 3 photos that I took for this tutorial. the same like in HDR

EV +2
Untitled by FX-1988
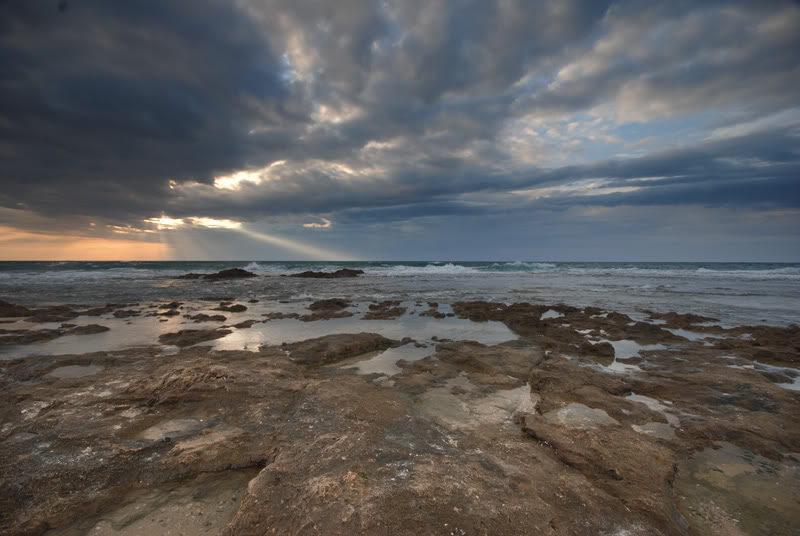
EV 0
Untitled by FX-1988
EV -2
Untitled by FX-1988

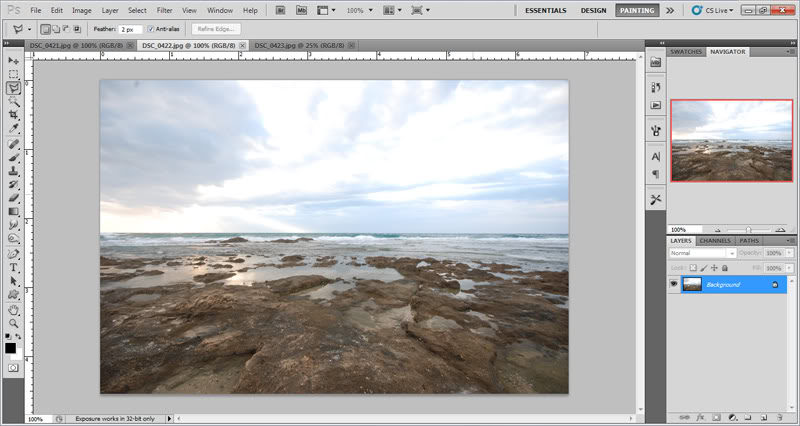
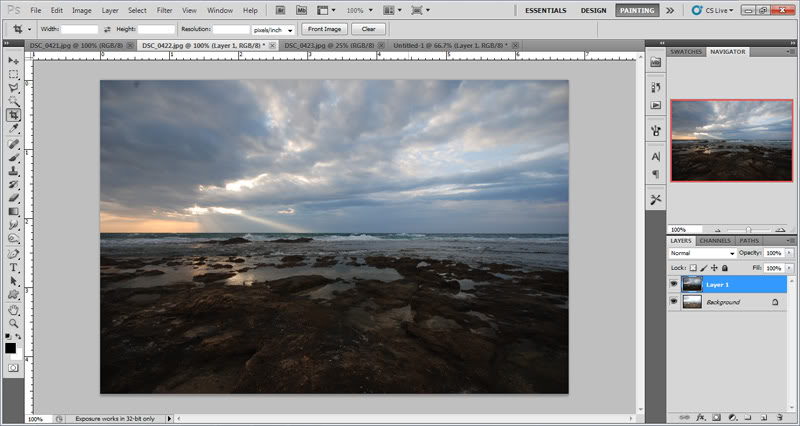
next you placing the photos in photoshop
starting with the brighter as base photo
Untitled-1111 by FX-1988

placing the middle photo on top of the base photo
Untitled-2 by FX-1988

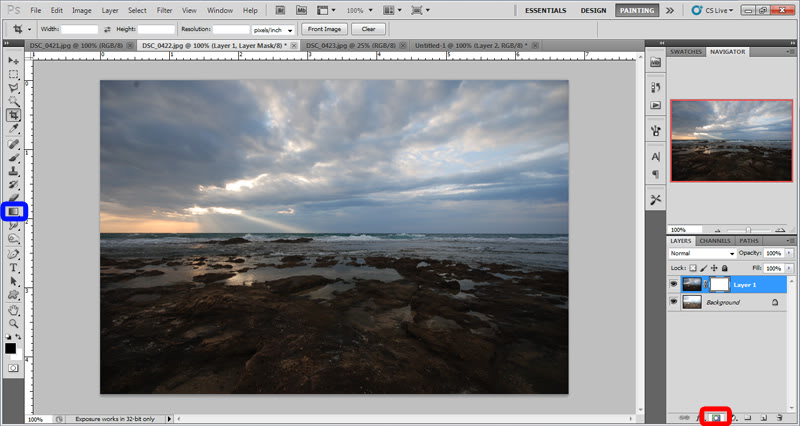
create a mask for the middle exposure
Untitled-3 by FX-1988

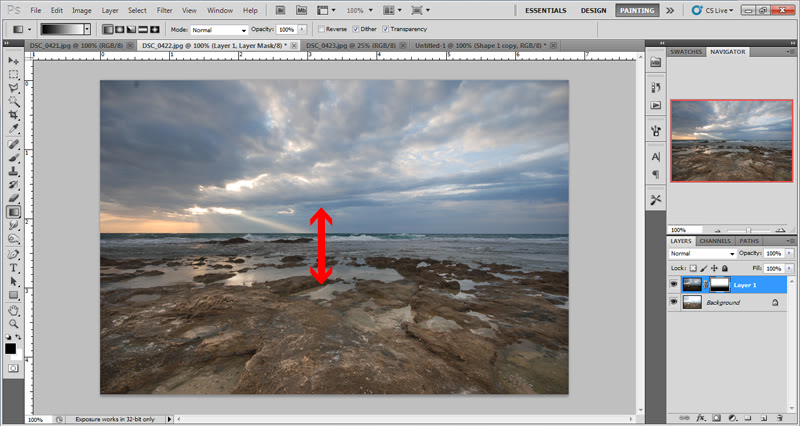
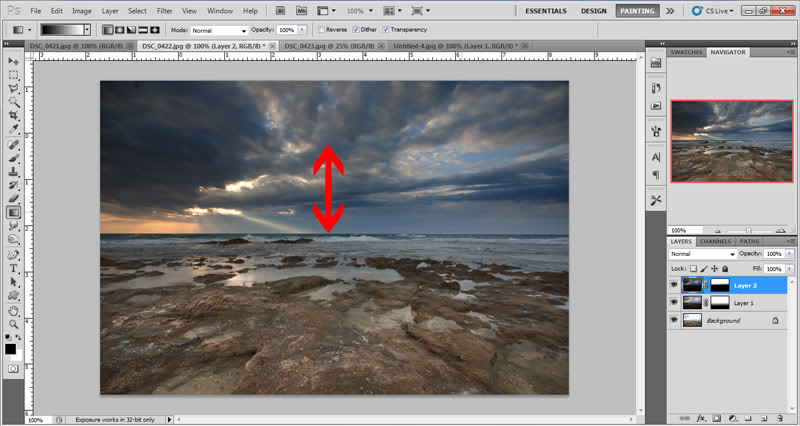
use gradient (G) to create a mask (the place where I place the mask is marked by the red arrow)
the Idea of using gradient is the same idea of GND filter
Untitled-4 by FX-1988

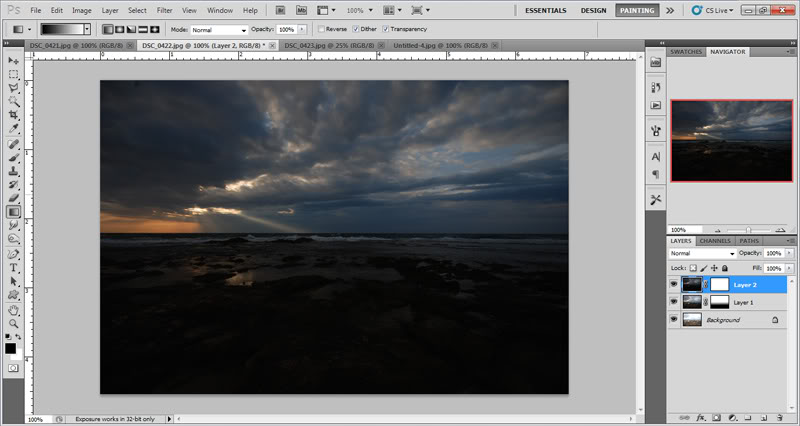
place the dark exposure on the top
Untitled-5 by FX-1988

and use use gradient to expose the part you need
Untitled-6 by FX-1988

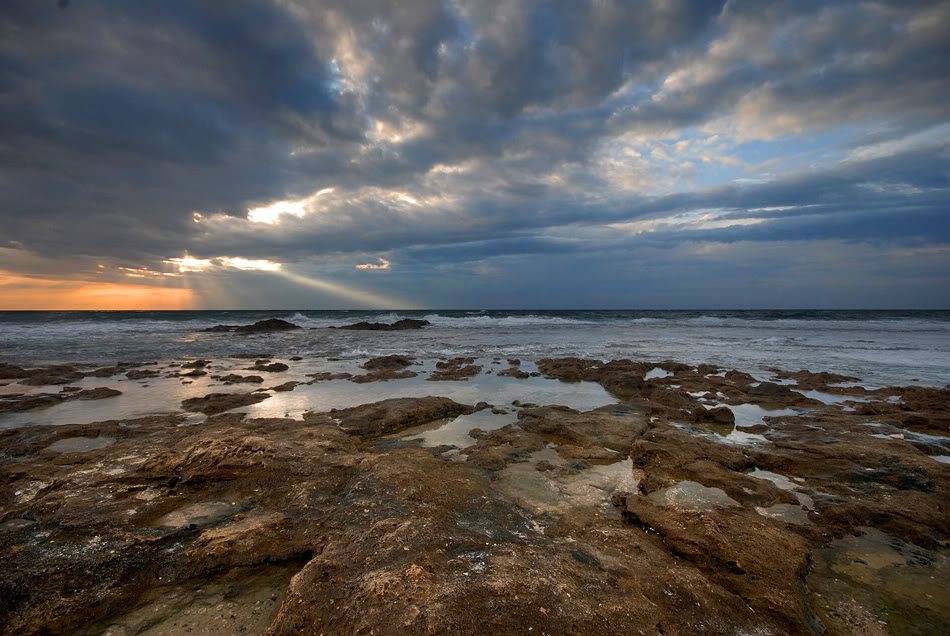
that the result
Dsc 0422f by FX-1988

after some level fix and sharpen
ItsNeverTooLate111 by FX-1988

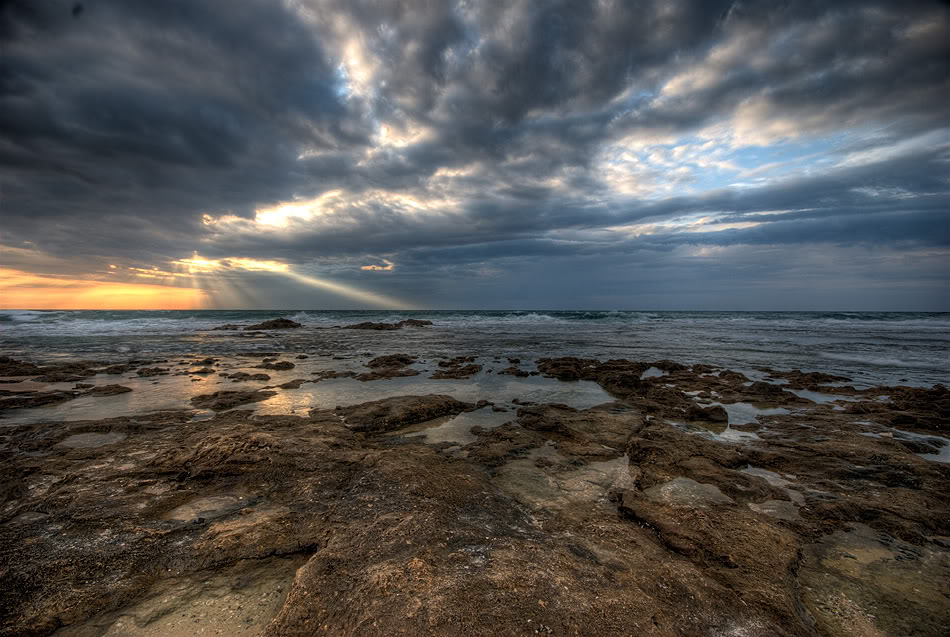
here is the same photo that have been processed in HDR program
DSC 0423 1 2 tonemapped by FX-1988
which photo look more realistic?

there some disadvantage for this technique
it work well only in level horizontal like waterscape
if you have mountain landscape or cityscape it will be harder to create the mask (most of the time you need to make it manual with the brush or fixing it after the gradient)
also if you have moving objects like waves or cars it impotent to pay attention that they are not in the gradient zone
if they are it possible that they transparent.

hope that this tutorial was useful for you
if you have something to say or advice (also spelling mistakes) you will be welcome

Tutorial: Home made macro lens for poor

Ive been very interested in macro photography for a long time, but for now I don't have the money to buy an expensive macro lens
till this day I used P&S cameras to take macro but they didn't gave me what I was looking for in macro photography
what the use of DSLR camera when P&S camera can take better macro then the reflex?
I wanted my DSLR to take macro but I didn't have the money.

not so long ago I got a old Nikon 18-55 kit lens
I didn't have much to do with this lens but I check it and noticed that it can focus on close distance
I search the internet for photos that was taken with this lens and noticed that some photographers put a revers 50mm lens on top of this lens and it giving them the ability to take macro

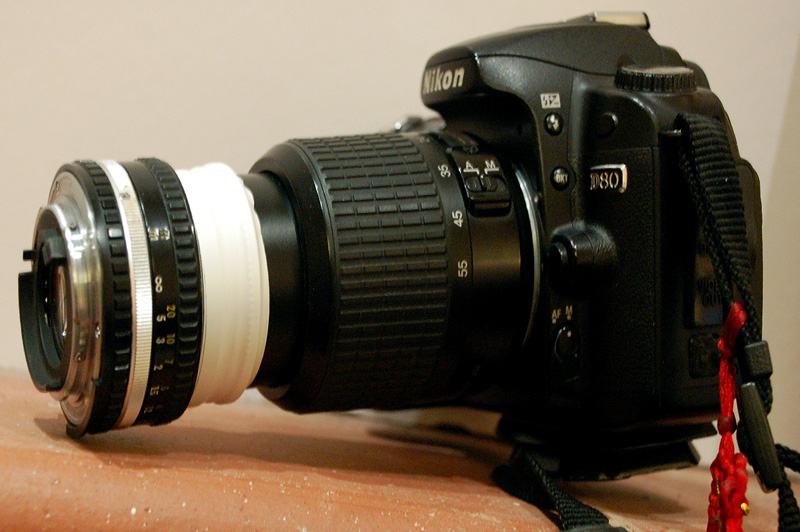
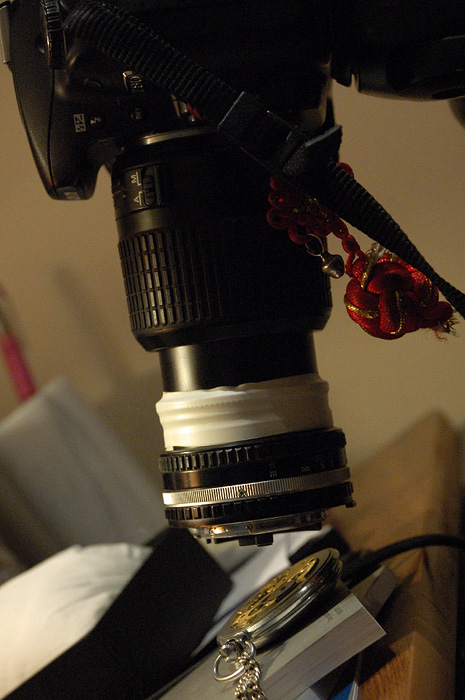
I was very curious to check it, also I had 50mm lens so I took this lens and attached it to the 18-55 with scotch tape

this is how my new lens looks
41533300 by FX-1988
notice that the 50mm is reversed
the diameter of the tow lenses is 52mm so it not so hard to attache them.

the advantage of this technique is the fact that it very cheap
a used 18-55 cost 75$
and 50mm 1.8D cost 100$
for my lens I used an old 50mm 1.8E, it pretty similar to the 50mm D

also i used scotch tape to connect the tow lenses
If you have some more money and you can wait , you can order spacial connector

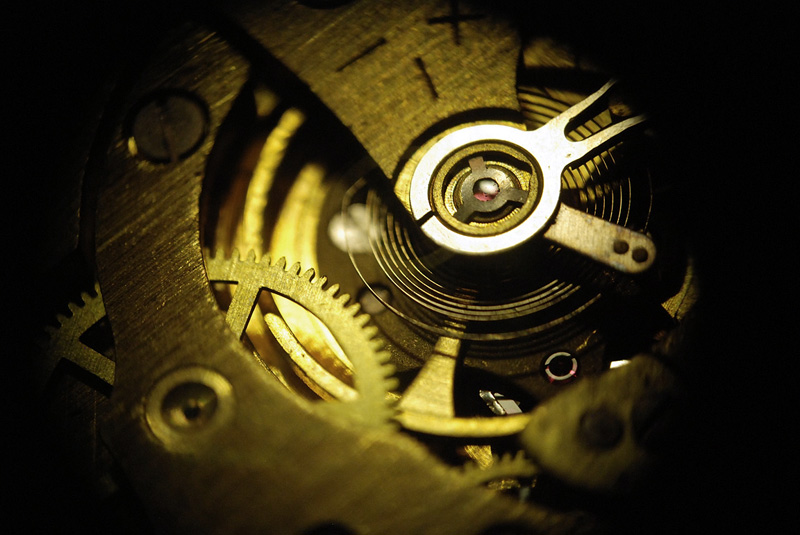
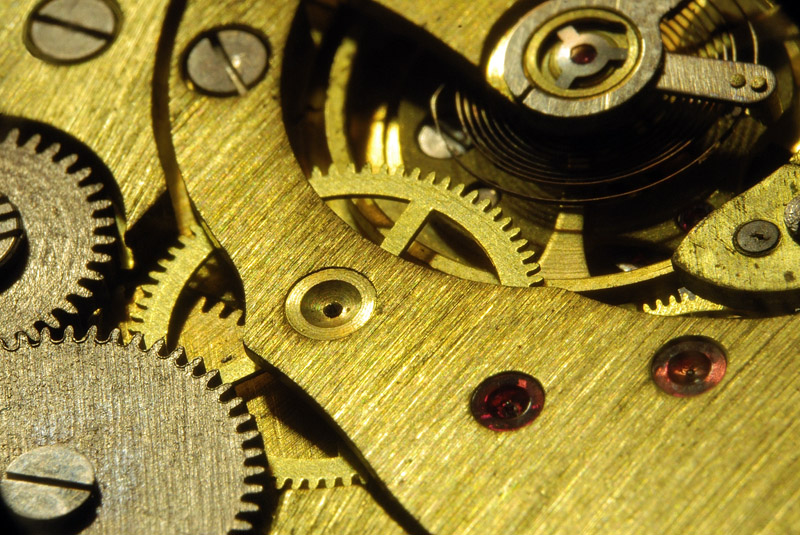
so immediately I found an interesting object to take macro photos
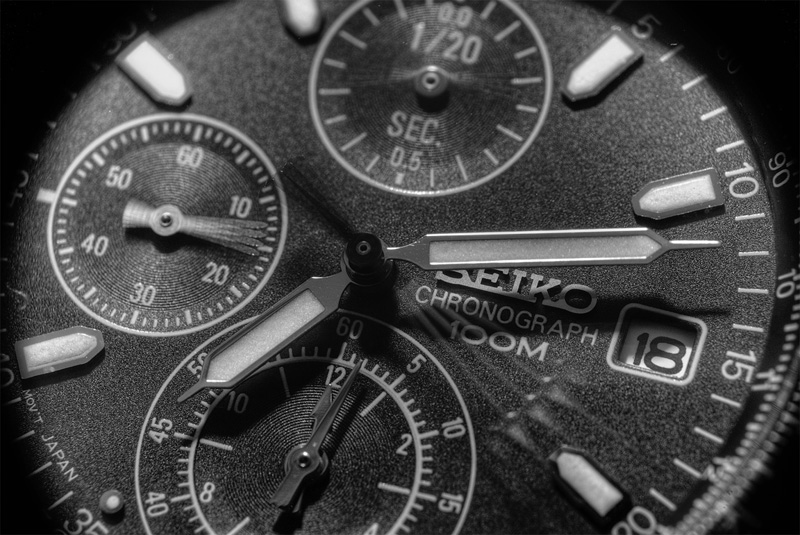
81246318 by FX-1988

and here how the photo look
68073653 by FX-1988
D80
55mm
F5.6

21391008 by FX-1988
D80
55mm
F38
notice how the aperture size influence the corner illumination
also notice that the focusing distance is very close (2-5cm)

all the photos that Ive post here are the originals, no crop and no photoshop
25236213 by FX-1988

I hope that it was useful
here is a link for some more info